Why Activewear Jackets and Layers Fail on Hourglass Frames
Quick Answer: Activewear outerwear is usually drafted on a straight or athletic block with minimal bust-to-waist difference, so an hourglass frame gets a jacket that’s tight across the chest and shapeless at the waist simultaneously. Look for princess seams, back darts, or drawcord waists; size to the bust and take the waist in; and choose stretch woven or four-way stretch fabrics over rigid shells. Layering compounds it, so the answer is fewer, better-fitted layers rather than more thin ones.
The leggings fit. The sports bra took three tries but you solved it. Then autumn arrives and the jacket problem starts, and it’s worse than either.
The reason is a single number in the pattern, and once you know it, shopping gets significantly less frustrating.
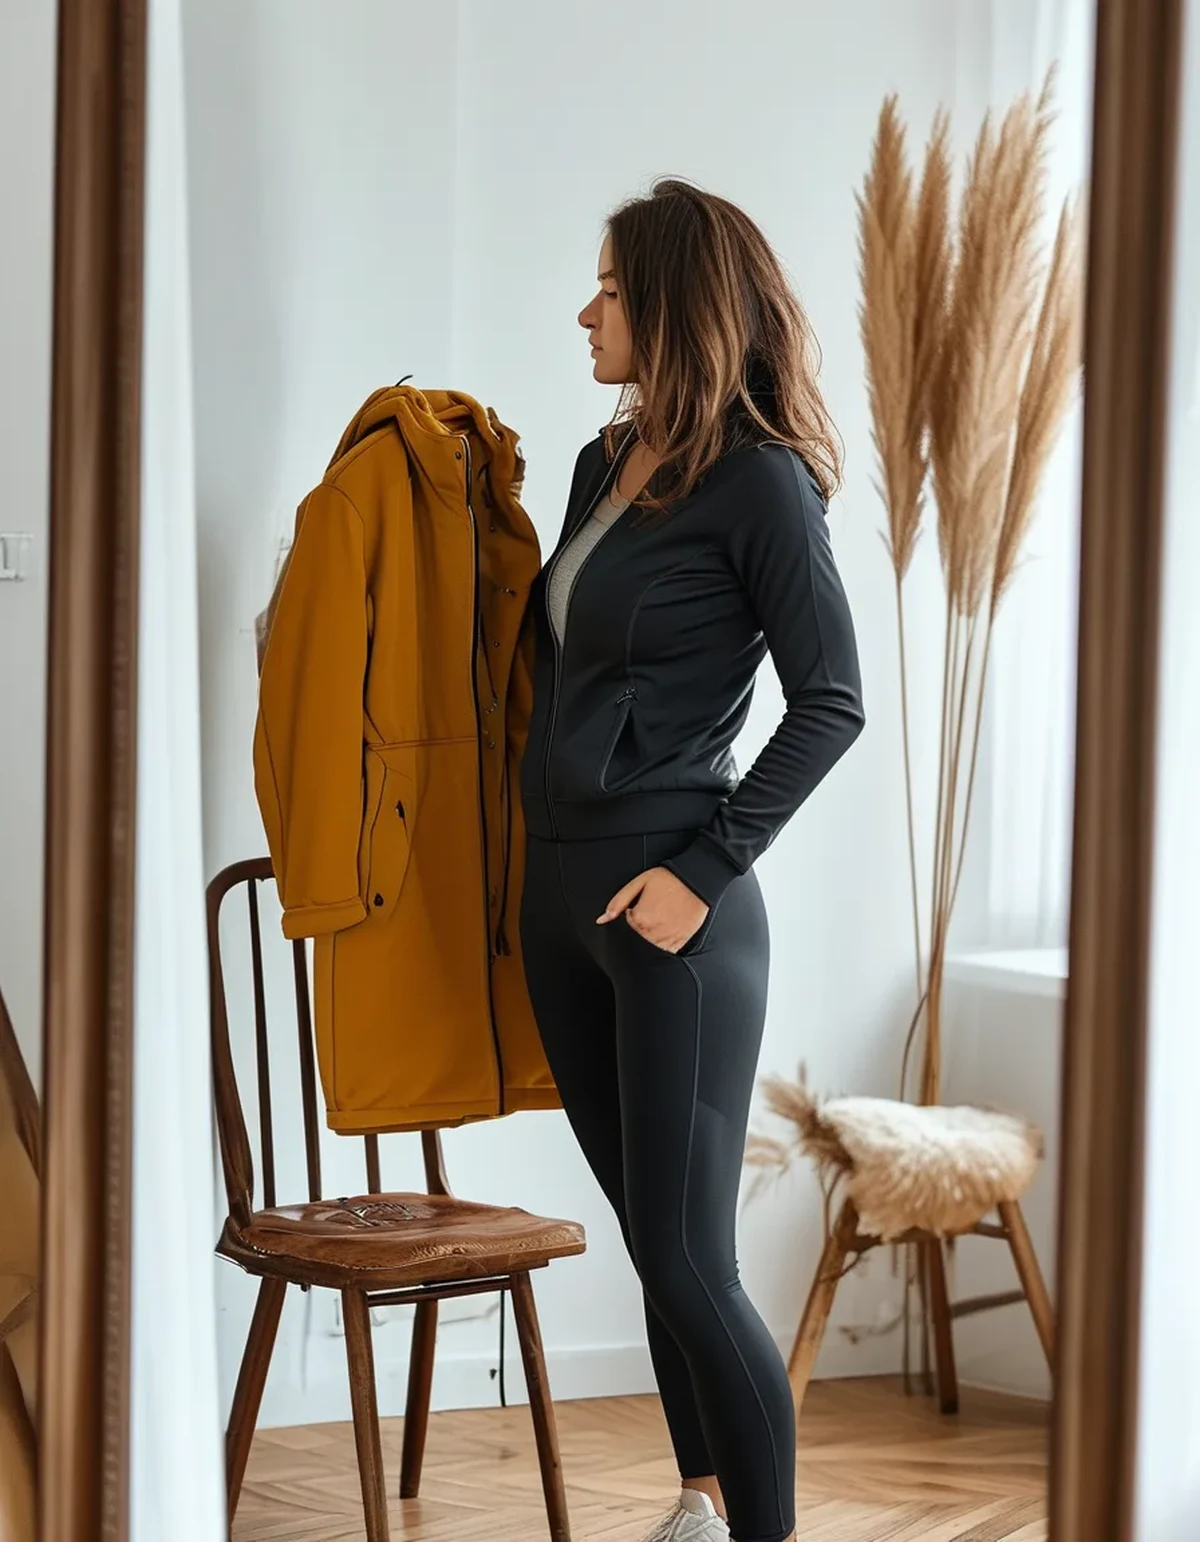
What’s actually wrong with the pattern?
Bust-to-waist drop. Most activewear outerwear is drafted with a drop of 6 to 8 inches; an hourglass frame commonly has 10 to 14.
Drop is the difference between bust and waist measurement, and it’s the number that defines whether a garment has shape built into it. Athletic blocks assume a smaller drop because they’re built around a generalized sporting silhouette, not a specific body shape.
The consequence is predictable in both directions. Size to fit the bust, and the waist swims. Size to fit the waist, and the zip strains, the pockets pull open, and the collar sits wrong.
Outerwear makes it worse than tops do because jackets are constructed rather than knitted. A stretchy tee accommodates a mismatch; a shell with a zip cannot. Rigid fabric has no give at the bust and no ability to follow a waist.
Zips are the specific failure point. A center front zip creates a straight vertical line through the area where an hourglass frame has the most curvature. The zip either strains at the bust or gapes at the waist, and often both on the same garment.
And layering compounds it geometrically. Each layer adds circumference at the widest points, so a three-layer system that fits fine on a straighter frame reads as bulky and shapeless on an hourglass one.
What construction details should I look for?
Shaping seams — the presence or absence of them decides everything.
Princess seams are the gold standard. Vertical seams running from shoulder or armhole down through the bust to the hem allow the pattern to be shaped in three dimensions, which is the only way to accommodate a large drop in a woven garment.
Back darts or a shaped center back seam do a similar job from behind, and they’re often present on better activewear jackets without being advertised.
Drawcord or elasticated waists are a cheaper solution and genuinely effective. A jacket with an adjustable hem cord can be cinched to create a waist that the pattern doesn’t provide.
Side panels in contrasting fabric are often shaping seams in disguise, and they frequently work well.
What to avoid: straight side seams with no shaping. Hold a jacket up and look at the silhouette. If the side seam is a straight vertical line from armpit to hem, the garment has no waist and cannot develop one.
Four-way stretch woven fabrics are the material answer. They accommodate the bust without straining and follow the waist without bunching. Rigid shells are the hardest category to fit and the one worth trying on in person.
How should I size and alter?
Size to the bust, then take in the waist. It’s the cheapest, most reliable alteration in outerwear.
Taking in side seams is a simple, inexpensive alteration — typically the least expensive thing a tailor does. Two inches out of each side seam transforms a shapeless jacket.
Adding darts is more involved but still routine. Back darts on a jacket cost a little more and create genuine shape where the pattern had none.
What can’t be fixed: a jacket too tight at the bust. There’s no fabric to let out in most activewear construction, and stretching isn’t an option in a technical fabric. Always size up rather than down when the bust is the constraint.
Shoulders are the other unfixable dimension. If the shoulder seam sits well past your shoulder point, the jacket is too big everywhere and altering the waist won’t rescue it. Shoulder fit determines whether a jacket is a candidate at all.
Sleeve length is easy to alter and worth doing. A jacket that fits everywhere except sleeve length is a twenty-minute fix.
Budget for alterations as part of the purchase. A well-fitting altered jacket at moderate price beats an expensive one that hangs badly, and the total cost is often lower.
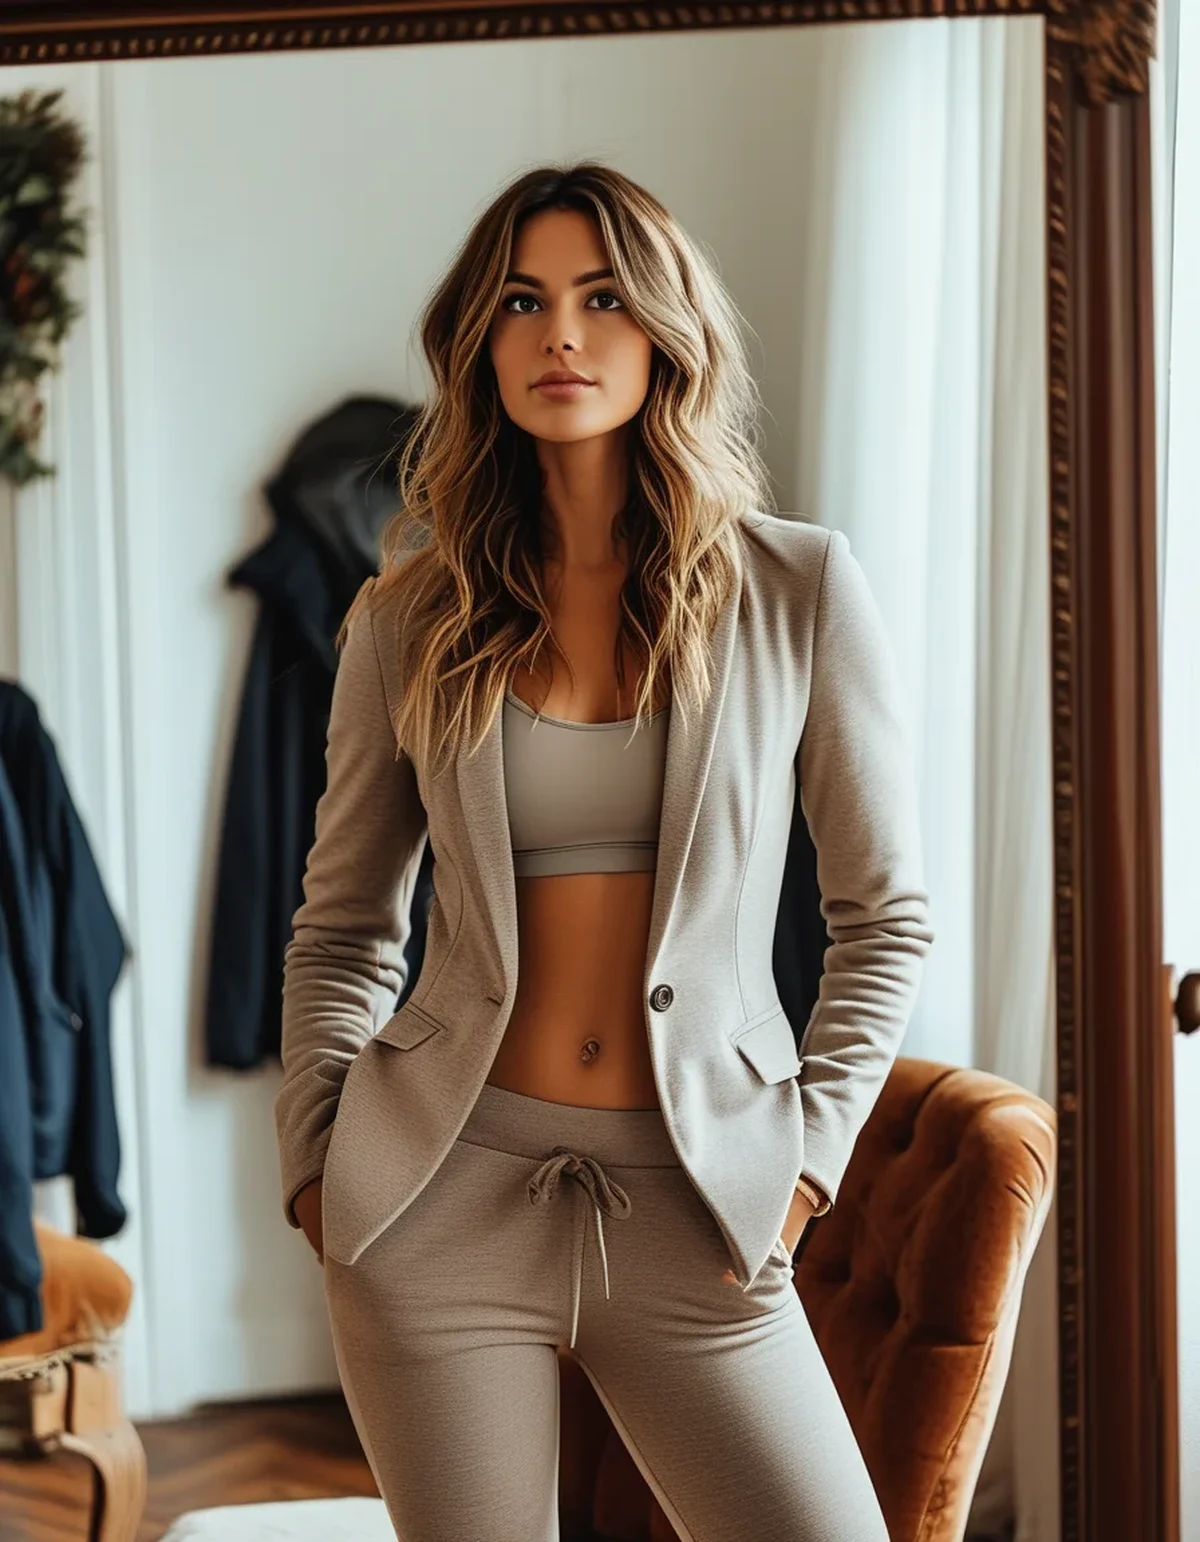
Myth vs Fact: Hourglass Activewear Layering
Myth: More thin layers is the flexible approach. Fact: Every layer adds circumference at the bust and hips, which is where an hourglass frame least needs additions. Two well-fitted layers beat four thin ones, both for warmth and for silhouette.
Myth: You should size up in outerwear for layering room. Fact: Size up for the bust if needed, but sizing up overall gives you a jacket that’s oversized at the waist and shoulders. The layering room should come from the base layers being thin, not from the shell being large.
Myth: Oversized jackets are more flattering because they hide the shape. Fact: An oversized jacket on an hourglass frame reads as bulk from the bust down. A fitted jacket with visible waist shaping is consistently more flattering — the shape is the asset, not the problem.
Myth: Belted jackets solve everything. Fact: A belt creates a waist visually and doesn’t fix bust strain or shoulder fit. It’s a useful tool when the rest of the fit is close, and it doesn’t rescue a badly-drafted garment.
Myth: Men’s or unisex activewear fits better because it’s cut straighter. Fact: Straighter cuts are exactly the problem. Unisex sizing typically has a smaller drop than women’s athletic sizing, so it fits an hourglass frame worse, not better.
What actually works for a full autumn layering system?
Three layers, each doing one job, each fitted rather than generous.
Base: a fitted long-sleeve in four-way stretch. This layer should follow the body completely — it’s the one layer where fit is easy to get right, and it sets up everything above it.
Mid: a fitted fleece or knit with shaping. Look for princess seams or a shaped hem. This is the layer where most people go too big, and it’s the one that determines whether the outer layer works.
Outer: a shell with a drawcord hem or waist shaping. The drawcord is the single most useful feature in an hourglass outer layer because it lets you create a waist regardless of what the pattern did.
Skip the fourth layer. If you need more warmth, upgrade the mid layer rather than adding another. Warmth per unit of bulk is what you’re optimizing for.
Choose a longer hem length — hitting at mid-hip rather than at the waist. A hem that ends at the widest point of your hips creates a horizontal line at the worst place, and two inches longer solves it.
Check it seated and with arms raised, not just standing in front of a mirror. A jacket that pulls across the bust when you reach forward is a jacket you’ll unzip constantly, which defeats the purpose of having it.
FAQ: Hourglass Activewear Outerwear Questions, Answered
What’s the single most important feature to look for?
Shaping seams — princess seams, back darts, or a drawcord waist. Hold the jacket up and look at the side seam: if it’s straight from armpit to hem, the garment has no waist and can’t be given one without significant alteration.
Are alterations worth it on activewear?
Often yes, particularly for outer layers you’ll wear for years. Taking in side seams is inexpensive and transformative. Find a tailor comfortable with technical fabrics — not all are, and the seams need to remain flexible.
Why do zips gape on me and not on other people?
A zip is a fixed straight line through the area with the most curvature on an hourglass frame. It’s a pattern issue rather than a size issue. Jackets with a slight curve to the front opening, or with shaping seams either side of the zip, handle it far better.
Should I buy from brands that offer cup sizing?
If you can find them, yes — a handful of activewear brands now offer bust-specific sizing in tops and outerwear, and it directly addresses the drop problem. The selection is limited but growing.
How do I stop layers from adding bulk?
Fewer layers, each better fitted, in thinner high-performance materials. A good merino base layer plus a well-fitted mid layer provides more warmth with less bulk than three thin cotton-blend layers.
Does this apply to running vests and gilets too?
Yes, and gilets are often worse because the armhole shaping is minimal and the fixed side seams are more visible. Look for gilets with a drawcord hem or side adjustment.
TL;DR: It’s a drop problem, and drop is a pattern decision made before the garment existed.
- Activewear outerwear is drafted for a 6 to 8 inch drop. Hourglass frames commonly run 10 to 14.
- Look for princess seams, back darts, or a drawcord hem. A straight side seam means no waist and no way to create one.
- Size to the bust, then take in the waist. A too-tight bust cannot be fixed; a loose waist can, cheaply.
- Shoulder fit decides whether a jacket is a candidate at all — it’s the other dimension that can’t be altered.
- Two well-fitted layers beat four thin ones. Every layer adds circumference exactly where you don’t need it.
- Choose a hem that ends at mid-hip, not at the widest point.
Next time you’re in a store, hold the jacket up and look at the side seam before you try it on. That five-second check eliminates most of the rack.
Keep Reading
This article is for general informational and styling purposes only. Fit, sizing, and product availability may vary.
