Why Autumn Layers Add More Bulk at the Waist Than Anywhere Else
Quick Answer: Layers add roughly the same fabric thickness everywhere, but on an hourglass frame that constant addition is proportionally largest at the waist, because the waist is the smallest circumference - the same half inch of fabric is a much bigger percentage there than at the hip or bust. Worse, most layers hang from the shoulder or bust and fall straight down, bridging over the waist entirely rather than following it. The result is that two thin layers can erase waist definition that a single layer preserved. The fix is layering that terminates above or below the waist, or layers that are themselves shaped, not thinner fabric.
One fitted top: fine. Add a light jacket and a scarf and suddenly the whole outfit reads as a rectangle.
The reason is geometric, and once you can see it the solution is obvious.
Why is the waist hit hardest by the same amount of fabric?
Because a fixed addition to a smaller circumference is a larger proportional change.
Think about it in numbers. A layer adding half an inch of thickness adds roughly three inches of circumference wherever it sits. On a 38 inch hip, that is about 8 percent. On a 27 inch waist, the same three inches is over 11 percent.
Stack two layers and the difference compounds. The waist-to-hip and waist-to-bust ratios that define an hourglass silhouette are literally being compressed by every layer you add, and they compress fastest at the narrowest point.
This is why the effect is specific to hourglass and pear frames rather than universal. On a frame with less difference between waist and hip, the same layers reduce the ratio proportionally less and the visual change is smaller.
The second and larger effect is structural. Most outer layers - jackets, cardigans, overshirts, coats - hang from the shoulders and the bust. On an hourglass frame, the bust is a prominent shelf, and fabric falling from it descends vertically and never touches the waist at all.
So the garment does not simply add thickness at the waist. It draws a straight line from bust to hip and hides the waist behind it, which removes the definition entirely rather than reducing it.
That is the actual mechanism, and it explains why a very thin unstructured cardigan can flatten a silhouette more than a thicker but fitted knit.
Which layers cause the problem and which do not?
Anything that hangs from the bust and terminates at or below the hip is the problem. Everything else is manageable.
Worst offenders: open unstructured cardigans ending at mid-hip, boxy sweatshirts, straight-cut overshirts, anything that skims the bust and falls unbroken. These maximize the bridging effect and simultaneously add bulk in the zone.
Also difficult: thick horizontal-textured knits at the waist, and any layer with a hem, elastic or drawcord that sits exactly at the natural waist. A hem at the waist adds bulk precisely where you have least tolerance for it.
Much easier: layers that end clearly above the waist - a cropped jacket ending at or above the natural waist, a bomber that stops at the ribs. The waist is then defined by the base layer and nothing bridges it.
Also easy: layers that end clearly below the widest part of the hip. A longer coat or cardigan reads as a full column and does not attempt to define the middle at all - which is a different silhouette, and a legitimate one.
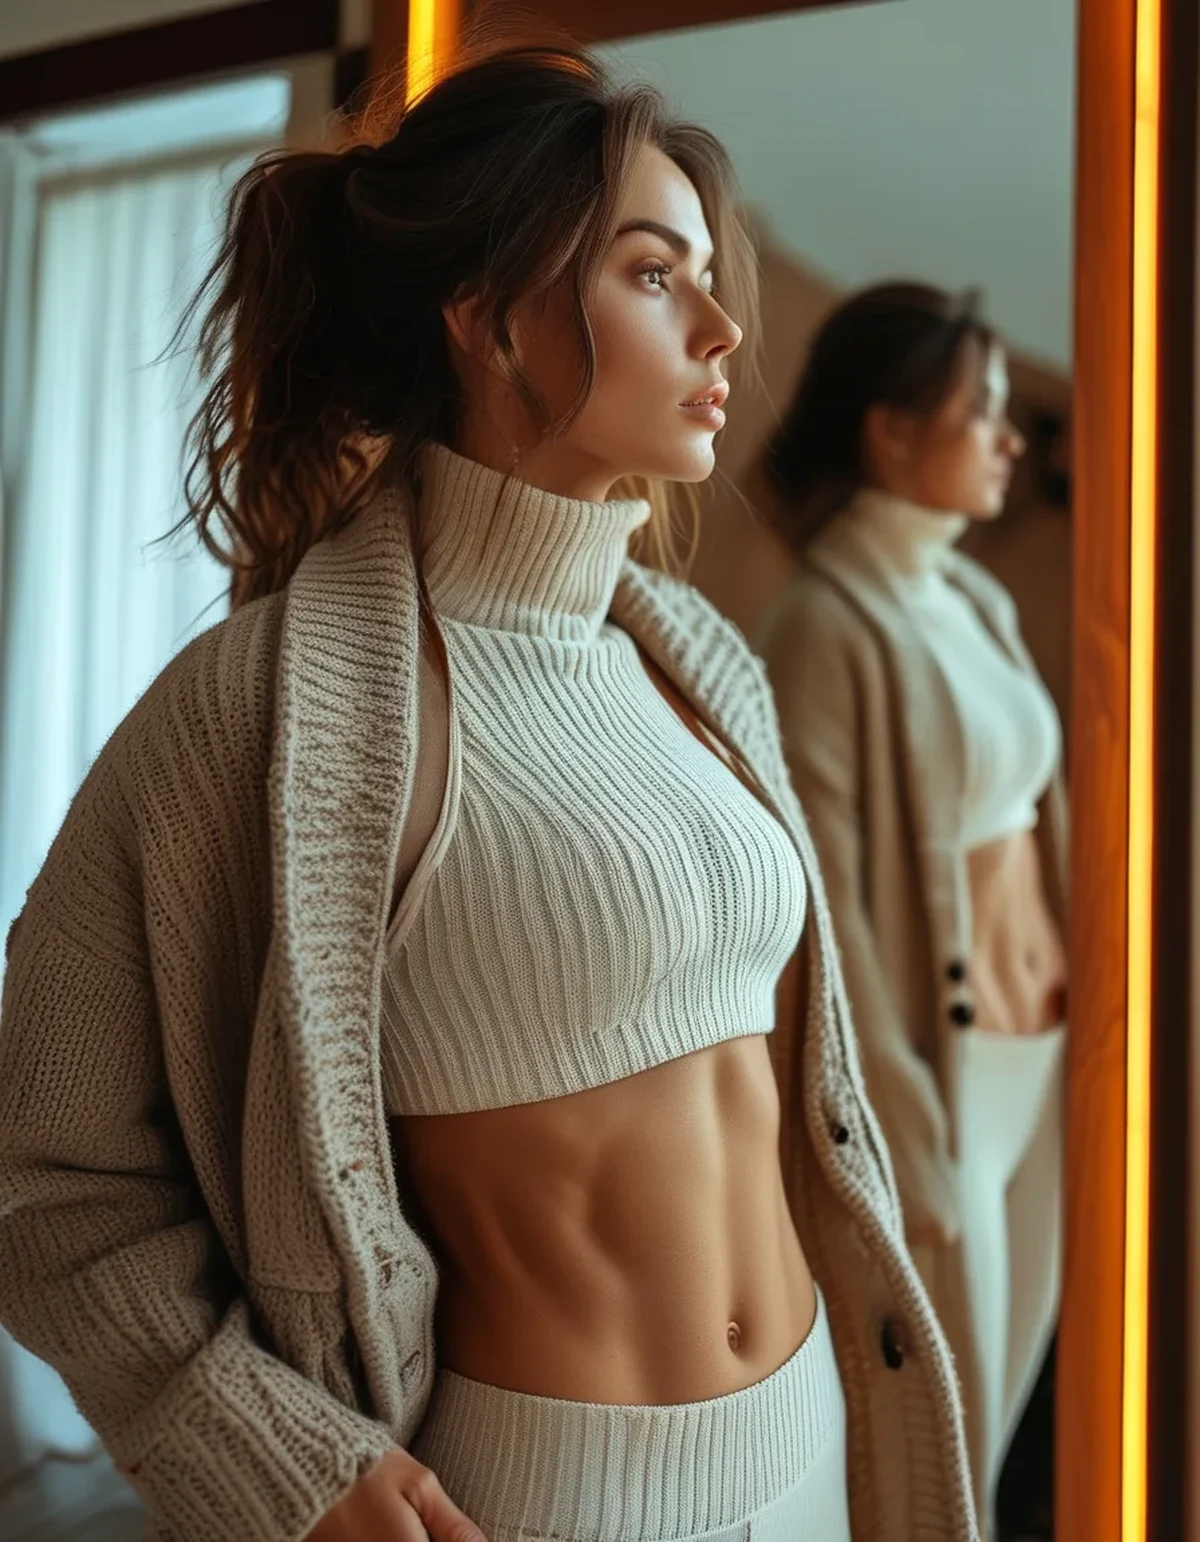
And the best option: layers that are themselves shaped. A wrap cardigan, a belted jacket, a knit with a rib panel or side shaping, or anything with a defined waist seam. These follow the body rather than bridging it, so they add thickness without erasing the ratio.
The rule that follows: never terminate a layer at your natural waist. Above it or below it, and shaped if it must cover it.

What Nobody Tells You About Layering an Hourglass Frame
The bust does most of the damage, not the waist. When a layer bridges, it is the bust projection that holds the fabric out. A layer that fits the bust properly instead of skimming it will fall closer to the body and reveal more of the waist, which is why a slightly more fitted layer often looks less bulky than a looser one.
Vertical openings do more than any amount of thinning. An open jacket or cardigan creates two vertical lines and a visible strip of the base layer down the center. That strip is what preserves the waist read, even under a bulky layer - which is why open-front layering works on hourglass frames when closed-front layering does not.
Thickness at the shoulder buys you waist definition. This is counterintuitive: a layer with some structure or volume at the shoulder increases the shoulder-to-waist contrast, which makes the waist read as smaller even though the absolute measurement did not change. It is the same principle that makes a structured blazer work.
Belting over a layer works but only if the layer has enough fabric to gather. A belt over a thin, fitted knit creates bunching and looks strained. A belt over a fuller layer creates the shape. Belting the wrong garment is the most common failed attempt at this.
Fabric weight matters more than fabric thickness. A heavy fabric drapes and follows; a light, stiff fabric holds its own shape and stands away from the body. A thick heavy knit can read as less bulky than a thin stiff shell - which is why the thinner packable jacket often looks worse than the wool coat.
What should the actual layering formula be?
Fitted base, shaped or open middle layer, structure at the shoulder, nothing terminating at the waist.
The base layer defines the waist and must be fitted. Everything else is built on the assumption that there is a visible waist underneath. A loose base layer means nothing above it can recover the shape.
The middle layer either opens down the front, ends above the waist, or is shaped. Pick one of the three, every time. A wrap knit, a cropped jacket, or an open cardigan are the three reliable options.
Add structure at the shoulder if the layer allows it. A defined shoulder seam, a slight padding, or simply a layer that fits properly across the shoulders rather than dropping. The contrast does the work.
Outerwear should be belted or should skip the waist entirely. A belted trench or wrap coat is the classic hourglass answer for a reason. A long straight coat also works because it commits to a column rather than half-defining a waist.
Watch the accessories at waist height. A crossbody strap landing at the waist, a belt bag, or a long scarf with the ends at waist level all add to the same zone. Scarf ends are worth thinking about - a long scarf hanging vertically down the front actually helps, but one wrapped with bulk at the chest pushes the layers further out.
And check it seated. Layers behave differently when you sit: a jacket that fell cleanly standing can bunch at the waist seated, and if you spend the day at a desk that is the version other people see most.
The activewear version of this is the same problem with fewer options: a fitted long sleeve base, a cropped or open zip layer, and nothing with an elastic hem at the natural waist.
FAQ: Hourglass Layering Questions, Answered
Should I just buy thinner layers?
Thinner helps marginally but it does not solve the structural problem, because bridging is about where the fabric hangs from rather than how thick it is. A thin unstructured cardigan bridges just as completely as a thick one. Shape and hemline placement matter far more than thickness.
Does belting always work?
Only on garments with enough fabric to gather at the waist. A belt over a fitted knit creates strain lines and reads as an attempt rather than a design. A belt over a fuller cardigan, a wrap coat, or an oversized shirt works well. If the garment has its own belt loops or a self-tie, it was designed for it.
Why do layers that work in a shop mirror fail in photos?
Shop mirrors are usually well lit from the front, which flattens shadow and reduces the visible depth of the bridging effect. A photo with overhead or side light shows the actual gap between the fabric and your waist. If you are unsure about an outfit, photograph it rather than mirroring it.
Is there a layering approach that works for both work and activewear?
Yes - the fitted base plus cropped or open second layer works in both contexts. For activewear that means a fitted long sleeve with a cropped zip jacket; for work it means a fitted knit with an open blazer or wrap cardigan. The principle transfers directly because the geometry is the same.
TL;DR:
- A fixed fabric thickness is a larger proportional gain at the waist than anywhere else on an hourglass frame.
- The bigger problem is bridging - layers hang from the bust and cross the waist without touching it.
- Never terminate a layer at your natural waist. Above it, below the hip, or shaped.
- Open-front layering preserves the waist read because the vertical strip of base layer stays visible.
- Structure at the shoulder increases contrast and makes the waist read smaller without changing anything.
- Belting only works on garments with fabric to gather. Over a fitted knit it strains.
- Heavy fabrics drape and follow; light stiff ones stand away. Weight beats thinness.
The layers are not too thick. They are attached at the wrong place.
Keep Reading
This article is for general informational and styling purposes only. Fit, sizing, and product availability may vary.
